
Installation
How a vinyl wet room drain or tray goes in
A summary of the manufacturer's fitting instructions, which come with every drain and tray. Always follow them, and the instructions for your vinyl.
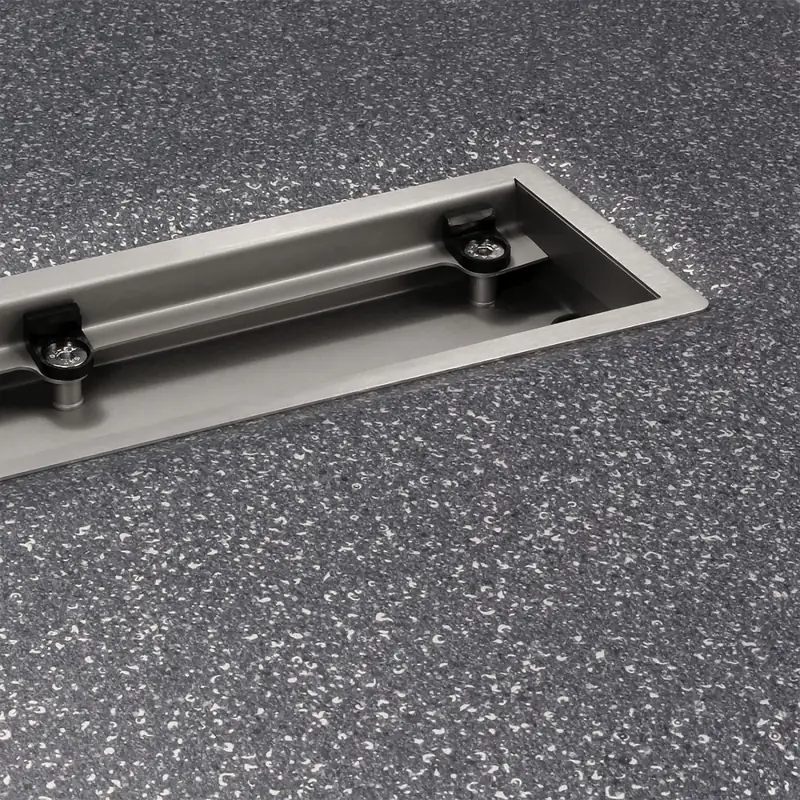
Linear drain
Wiper VF drain in a timber floor
-
Set the level
Set the finished floor level and plan a 2% fall across the shower area. Mark around the drain and the waste trap position.
-
Cut the floor
Cut out the drain shape with a jigsaw, with an extra cut so the drain's flange sits flush with the timber floor.
-
Connect
Connect the channel to the drainage system, with the drain flush with the floor.
-
Seal the flange
Seal the surface around the drain with Superfix, the SMP adhesive named in the instructions, using a glue gun to spread it evenly.
-
Glue the floor
Glue the rest of the floor with normal vinyl floor adhesive.
-
Lay and cut the vinyl
Roll out the vinyl, taking it at least 100 mm up the walls. Soften it with a heat gun and cut along the inside edge of the drain.
-
Clamp and finish
Place the vinyl clamp lock, tighten its screws to secure the floor, and push the grating into its frame.
Wet room tray
Showerlay VF tray on a timber floor
-
Mark out
Stand the tray on the floorboards, tight in the corner, and draw round it and inside the drain outlet.
-
Open the floor
Cut out the marked area and take the boards back to the centre line of the nearest joists, so the tray is fully supported.
-
Support the trap
Fit a plywood support for the waste trap about 65 mm below the top of the joists, connect the trap to the waste and pour in water to check the flow.
-
Underboard
Fix battens to the sides of the joists and screw marine plywood to them, flush with the floor, cutting a hole for the channel. The instructions give the thicknesses.
-
Bed the tray
Spread 0.5 to 1 mm of tile adhesive with a notched trowel, bed the tray and connect the channel to the trap, sealing the siphon part with silicone.
-
Tank, then vinyl
Tank the board joints and the floor to wall junctions, glue the floor, roll out the vinyl, cut it along the drain with a heat gun, clamp it and fit the grating.
Wet room tray
Showerlay VF tray on a concrete floor
-
Mark out
Stand the tray on the screed, tight in the corner, and draw round it and inside the drain outlet.
-
Cut the recess
Remove the concrete as deep as the tray is thick, with the waste position about 65 mm below the concrete surface.
-
Connect and test
Connect the waste trap, support it with concrete, and pour in water to check for leaks and flow.
-
Level the bed
Clean out the recess. If it is uneven or holed, lay a thin coat of floor levelling compound first.
-
Bed the tray
Spread 0.5 to 1 mm of tile adhesive, bed the tray flush with the floor and connect the channel to the trap, sealing the siphon part with silicone.
-
Tank, then vinyl
Tank the joints and the floor to wall junctions, glue the floor, roll out the vinyl, cut it along the drain with a heat gun, clamp it and fit the grating.
Waterproofing
Tanking comes before the vinyl
The tray and its drain are waterproof, but the joints between the tray, the floor and the walls are not. The fitting instructions make tanking the shower and splash area mandatory before the vinyl goes down; tanking the rest of the room is optional.
The Wiper waterproofing kit has the tanking liquid and waterproof tape for the joints. Add sealing corners and pipe collars where the instructions call for them.
Good to know
If a tray arrives slightly bowed
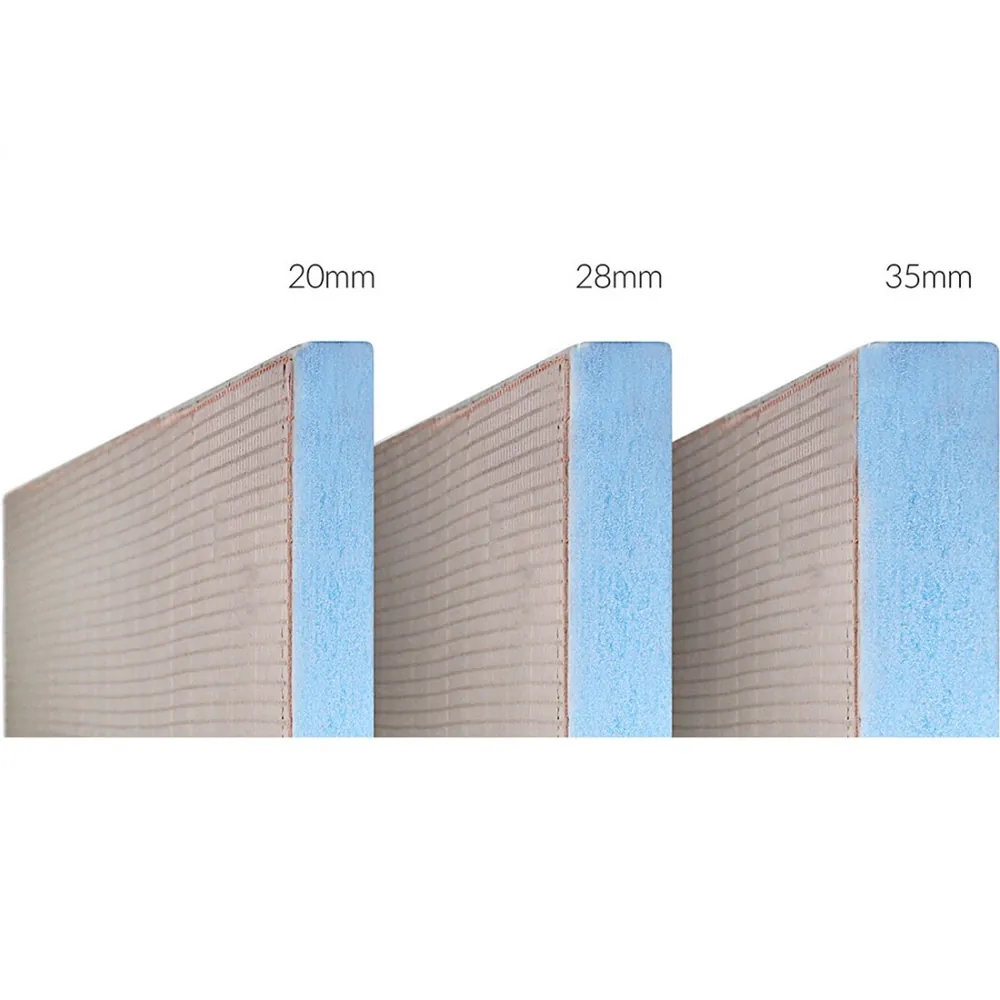
It is not a fault. The tray is XPS foam coated on both sides with a flexible cement mortar and fibreglass mesh, and that reinforcement can make the board curve slightly over time.
Lay it on an even floor, fully supported, and put something heavy on each corner, such as four 15 kg bags of mortar. After a few hours it settles back to flat.
Ready to order?
Every drain and tray comes with its full fitting instructions. Call the team if you want to talk through your floor first.